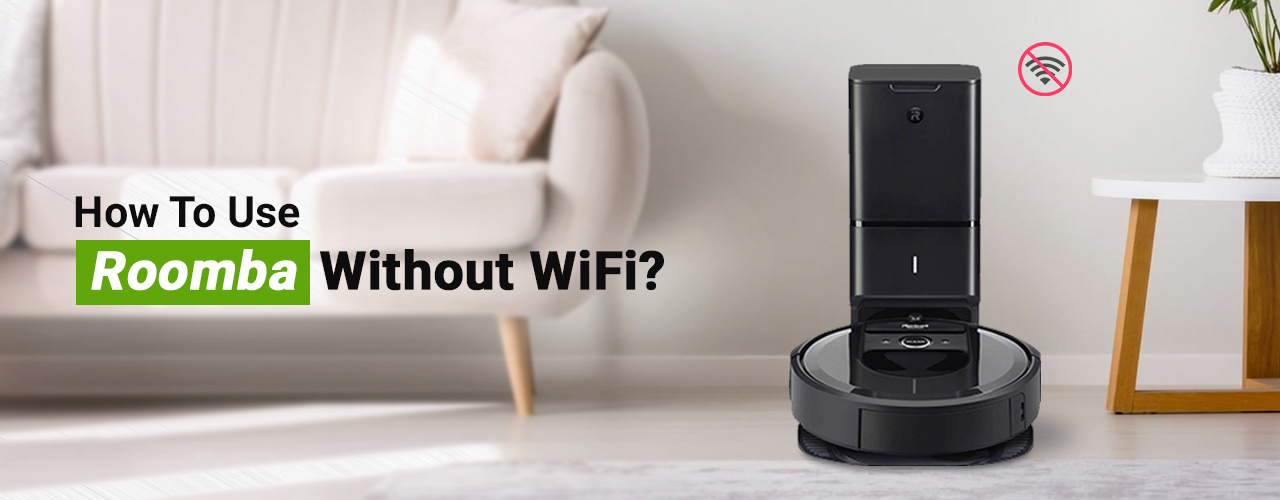
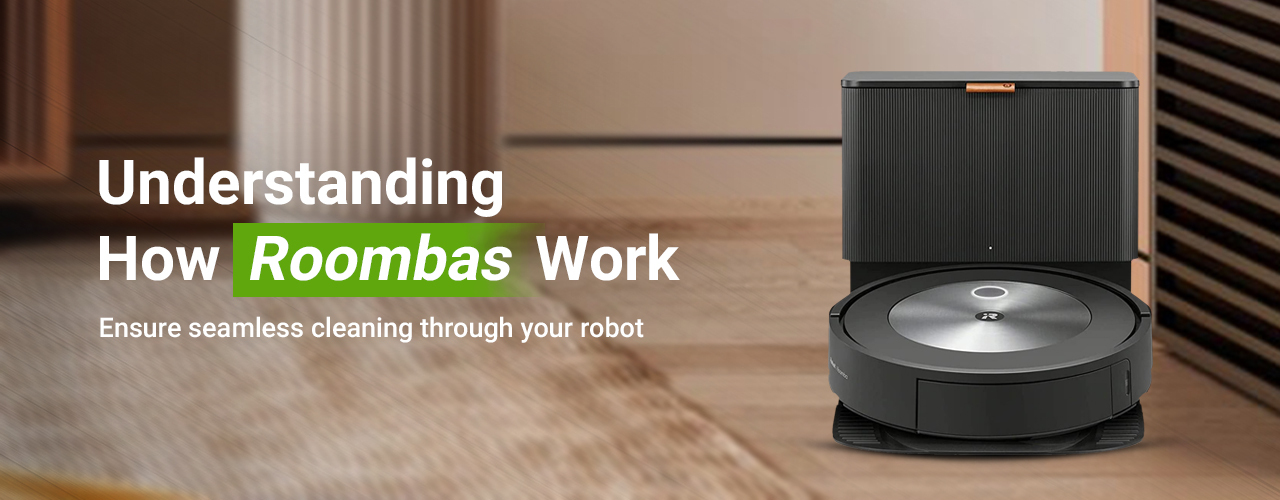
irobot roomba login and irobot roomba i7+ wifi setup
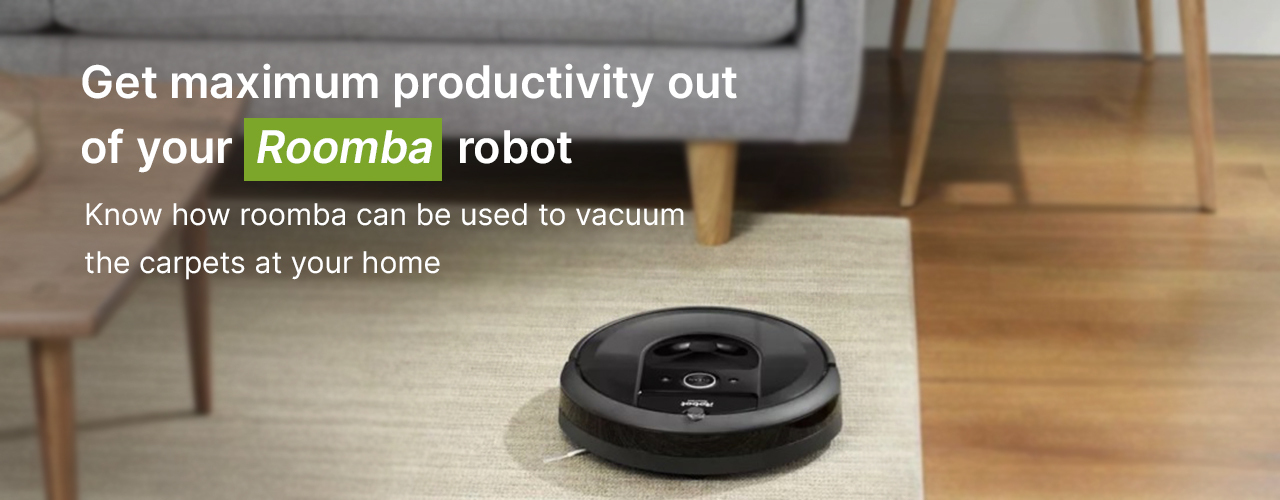
iRobot Roomba is people’s favorite automatic vacuum cleaner that lets you have peace of mind which comes from knowing that your home is in the best of its condition. You can control the cleaners using Wi-Fi which makes cleaning tasks even easier. However, in order to use the features, you will need to access the Roomba Login page and thus complete the iRobot Roomba i7+ wifi setup process.
If you are looking to get information on the same, this website will give you complete details about the iRobot Roomba Login process and walk you through the steps to troubleshoot issues like Roomba not connecting to wifi and more.
Irobot Roomba i7+ Wifi Setup- Prerequisites
When starting with the Roomba i7 setup, you will need to arrange certain things. These include but may not be limited to the Roomba login details and the smartphone app installed. Once you have these with you, you may proceed with the iRobot roomba i7+ wifi setup.
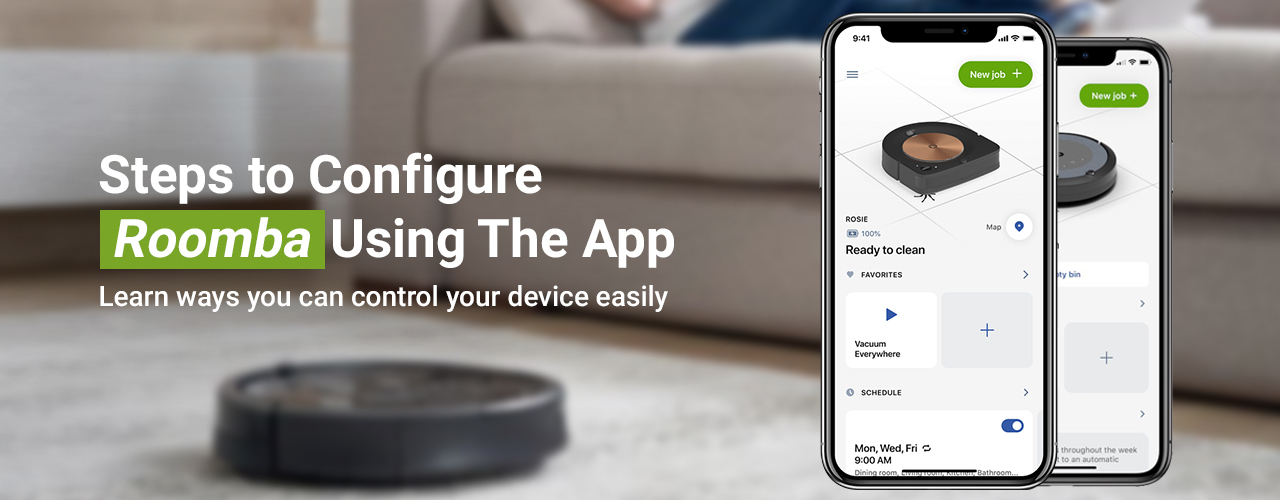
You can configure your Roomba robot using the smartphone app. Additionally, registering the roomba to the iRobot account also becomes easier. To download the app, you can visit your device’s app store. Simply look for the app on the store and tap on the Install button. If you already have the app installed, make sure it is on the latest version.
irobot roomba i7+ wifi setup process-explained
- Launch the roomba app and make the required selections for the region, language, and time zone.
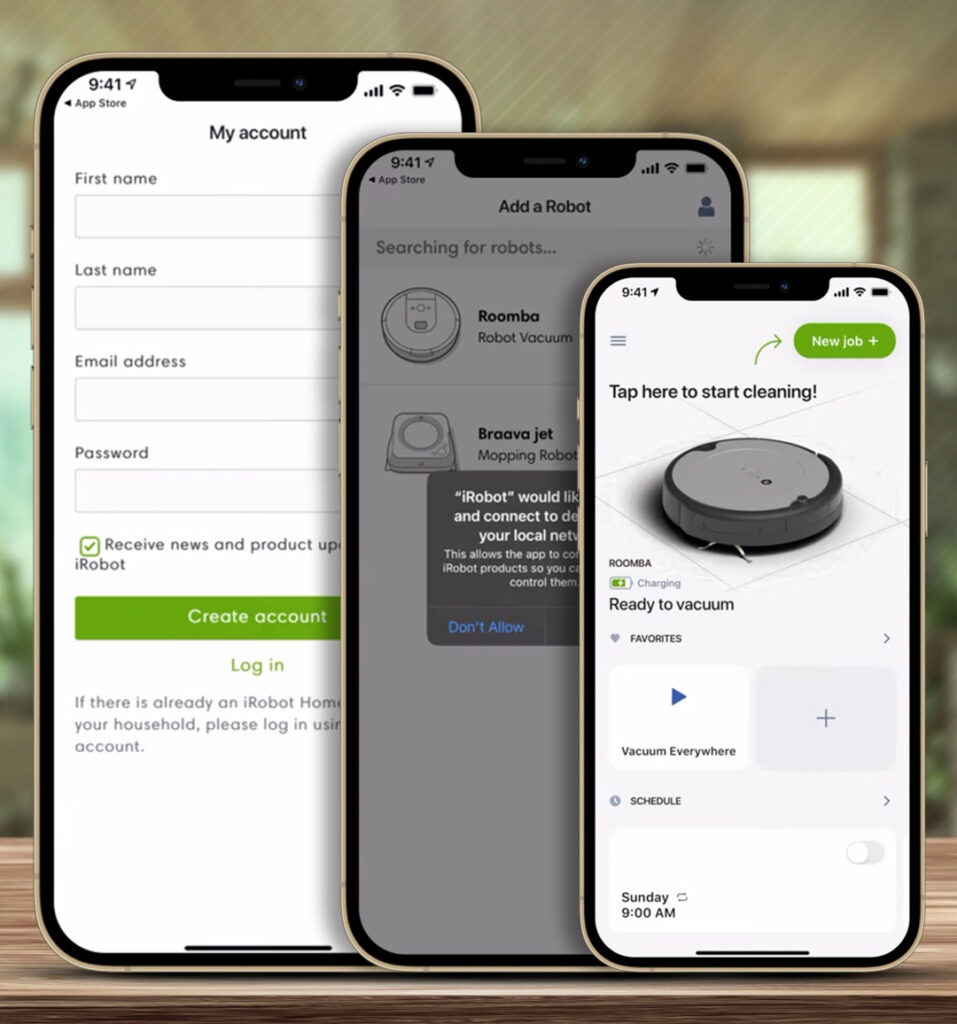
- Create an account for roomba. Type in the required credentials and proceed with the Roomba login process. If you have an existing account, you can simply sign in to the same. To create an account use the ‘Create Account link on the sign-in page.
- Type in the details that are asked for on the next screen. Type in your name, region, and email, and set a password to secure the account. Now, click on the Create Account button.
Now, simply follow the on-screen instructions to complete the irobot roomba setup process.
Connecting ROOMBA to the WiFi network
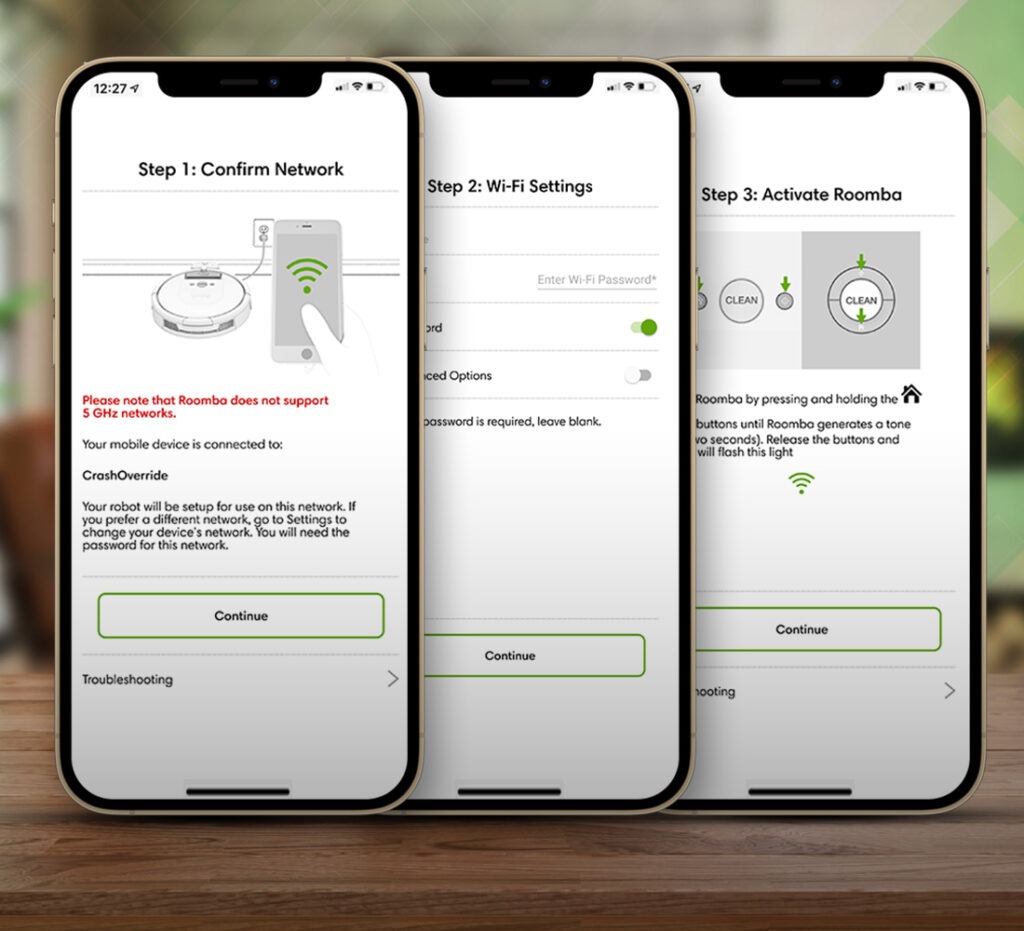
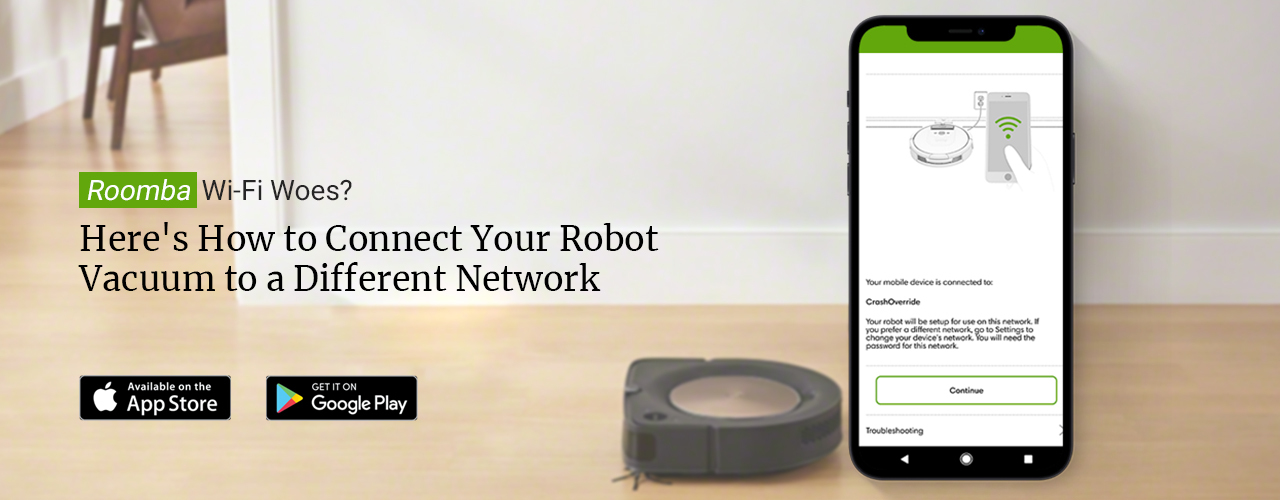
- The first step in connecting your Roomba robot to the network would be accessing the Roomba settings through the iRobot Home app. Ensure that the roomba charging station and robot are ready for setup. Also, don’t forget to have the WiFi credentials ready with you.
- Since the robot uses Bluetooth to detect your smartphone and connect to it, always ensure that Bluetooth is enabled on your smartphone. If it is disabled, the app will prompt you to turn it on.
- As another essential requirement, you may see a request for location tracing. Allow the permissions so the robot can be detected.
- Once ready, begin by placing the HomeBase in a good network coverage area. Make sure it is placed on a leveled surface away from heights or a busy route.
Roomba Settings using the Roomba Login Page
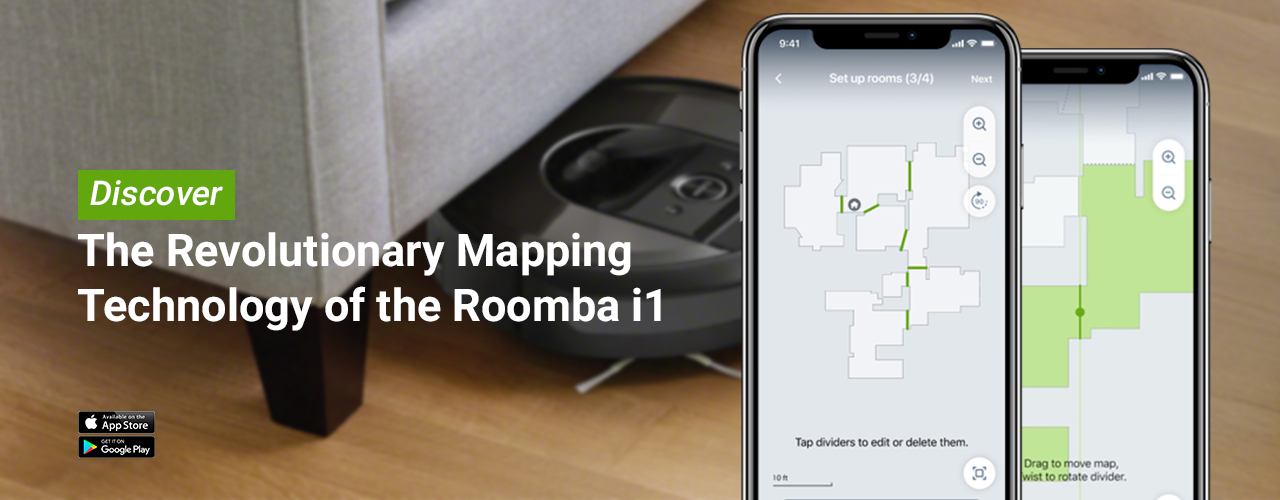
- As the next step, assign a name to your Roomba robot. Once assigned, click on the Continue button.
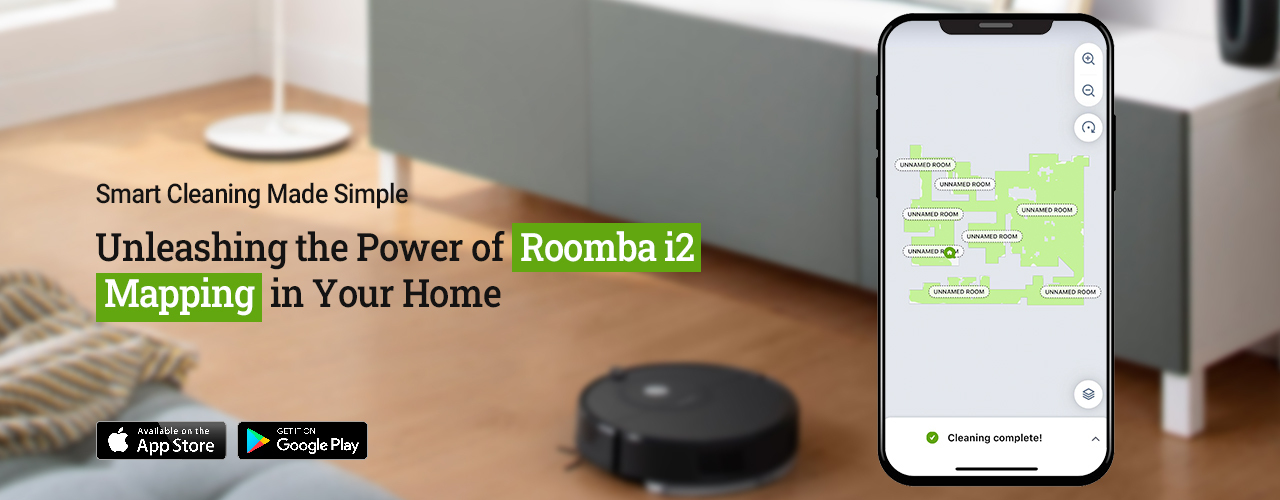
- A list of the available wifi networks will be shown to you on the app. Scroll through the same to select the SSID that belongs to your wifi router. Type the network key to connect to the same.
- The internal WiFi network for the roomba robot will get activated. This helps the app detect the robot easily.
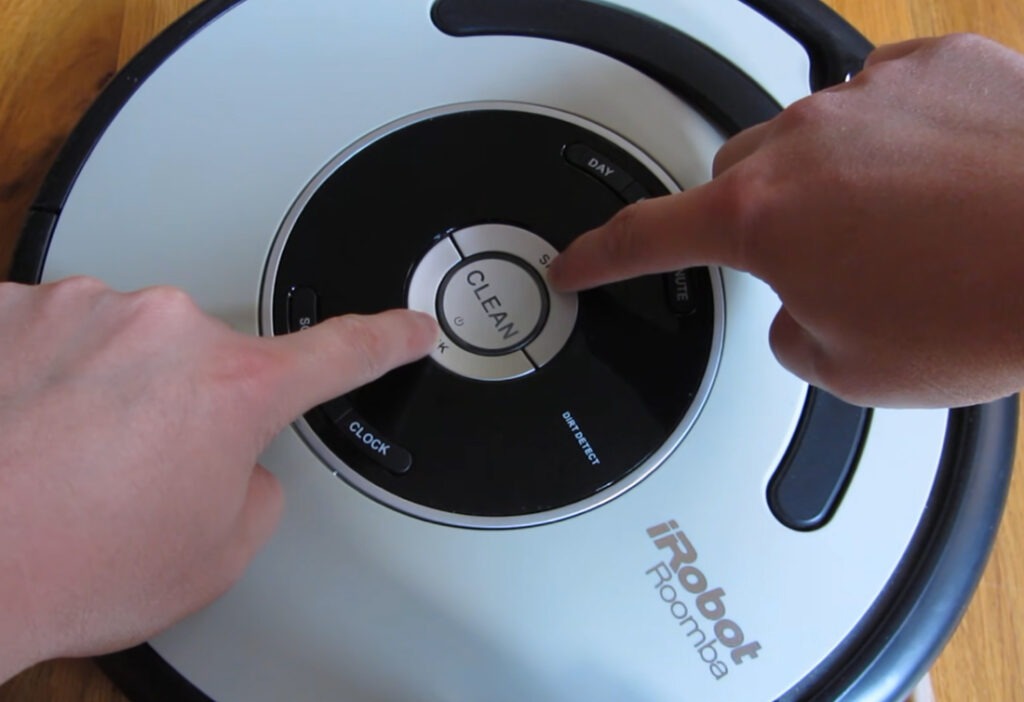
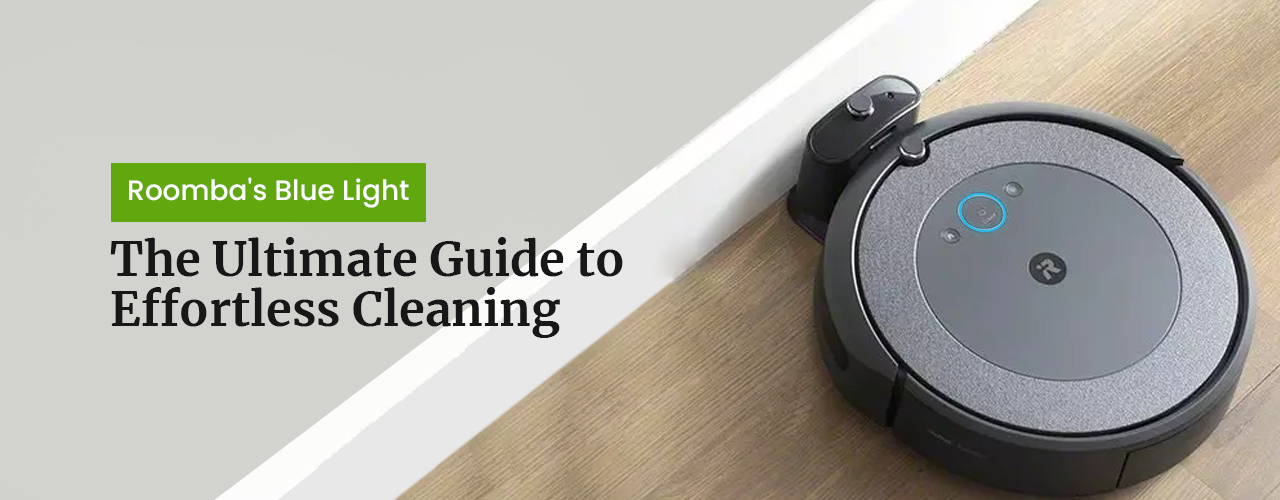
- Now, while Roomba is placed upright on the floor, press the ‘Home’ and ‘Spot’ buttons simultaneously. Hold it till you hear a tone play on the robot. You will also see a green light on the WiFi icon. Some models may also display a flashing blue light ring.
- Now, on the roomba app, select the radio button next to “I pressed the buttons”. Now, tap on the Continue
Once the robot is connected to the wifi network, it becomes easier to manage. You can adjust the settings and take full control of the device. When you hear “You are connected to Roomba” at the end, it means that the robot is all set and you can use it. The WiFi LED will also turn solid white.
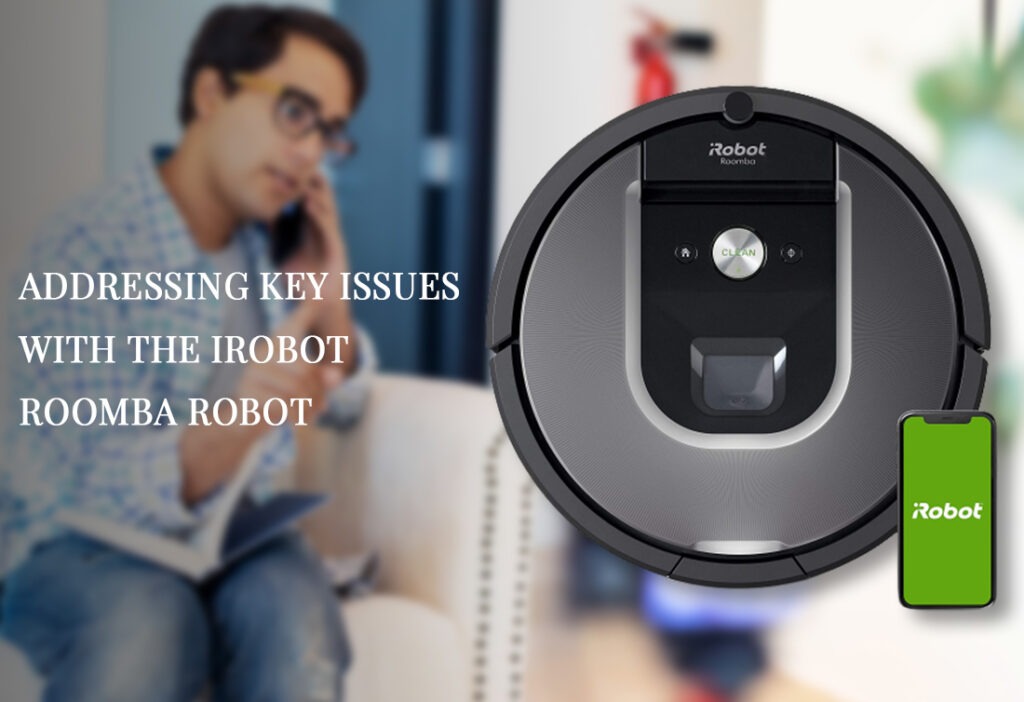
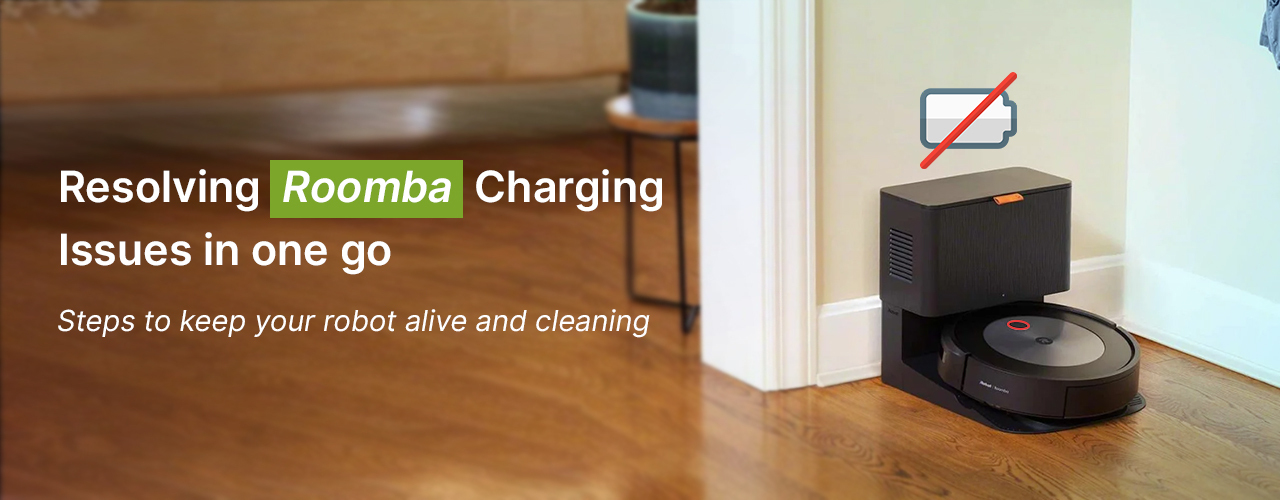
iRobot Roomba i7+ WiFi Setup- Addressing key issues
While you are following key steps to access the irobot Roomba’s login page, you might encounter some setup and login-related issues. These can be:
- Roomba won’t dock,
- Robot boot issues,
- Brush not working, and more.
Troubleshooting the iRobot Roomba related issues
Problems associated with the iRobot Roomba not docking, or not returning back to its home base upon completion of the assigned cleaning cycle can be a major problem. Here are some steps you can follow:
- Inspect the charger cable for any signs of damage. If you find any, replace the same with a new one.
- Plug the charger into the wall socket and make sure that the power indicator lights are solid green.
- Plug the charger into the home base and make sure it is securely attached. See if you notice any flickering on the power LED.
- Check the charging contacts for clogging. If there’s debris accumulated on them, clean the same using a dry cloth. Now, press the Dock button and see if the robot returns to the charging station on its own. If you are still unsure about how to clean roomba charging contacts, you can take it to the nearest service station.
HANDLING ROOMBA BOOT ISSUES/ HOW TO REBOOT ROOMBA?
Now, if your roomba is out of battery or is in sleep mode, you are more likely to interpret it as a bootup issue. If your Roomba experiences such an issue, it becomes important to identify the real issue. To rule out the chances of issues with the battery, you can replace the battery on the robot. Additionally, you can follow these troubleshooting steps:
- Plug in the power cable to the Charging Station. You will notice the power LED flash. If it doesn’t, use another power outlet. In case the robot still doesn’t boot up, the power cable may have some issues. You can replace it with a new one.
- If the robot is not charging even if the home base LED is lit, check if there is dirt on the charging contacts. Remove the same using a dry cloth and attach the charging cable again.
- Also, clean the charging pins on the charging base. If there’s dirt or debris stuck to them, they won’t be able to make contact with the charging contacts on the robot. This will again result in the battery not charging and boot-related issues.
Tackling Brush Not Spinning Issues
The Brush on the roomba helps it to direct the trash and dirt toward the vacuum opening. If it doesn’t spin, the robot won’t be able to clean properly. To prevent this from happening, remove the side brushes and inspect the insides for issues.
- Remove the center screw using a screwdriver and take off the screws that hold the bottom panel.
- The Side brush motor and its housing are secured using screws. Unscrew the housing by removing the middle screw and the one beneath it. The internal screw is made up of plastic, so be careful when removing it.
- A snap-latch will become visible on one of the housing ends. Take off one part of the motor housing carefully and locate a hexagonal piece protruding outwards. Adjust its position and make sure it sits safely in its place.
- Use a plier to see if the axle turns within the housing. Once it is freed from the gear that was stuck, it will spin freely. You can use some gear oil to lubricate the same and make sure it is sitting securely in place.


How to reset roomba?
- Press the Clean, Dock, and Spot Clean buttons on your robot simultaneously. Do it until the LEDs on the top panel light up. Some models produce a beep sound when these buttons are pressed. So, make sure you wait for the signal from your robot before you release the buttons.
- Once you do, release the buttons and allow the robot to reboot.
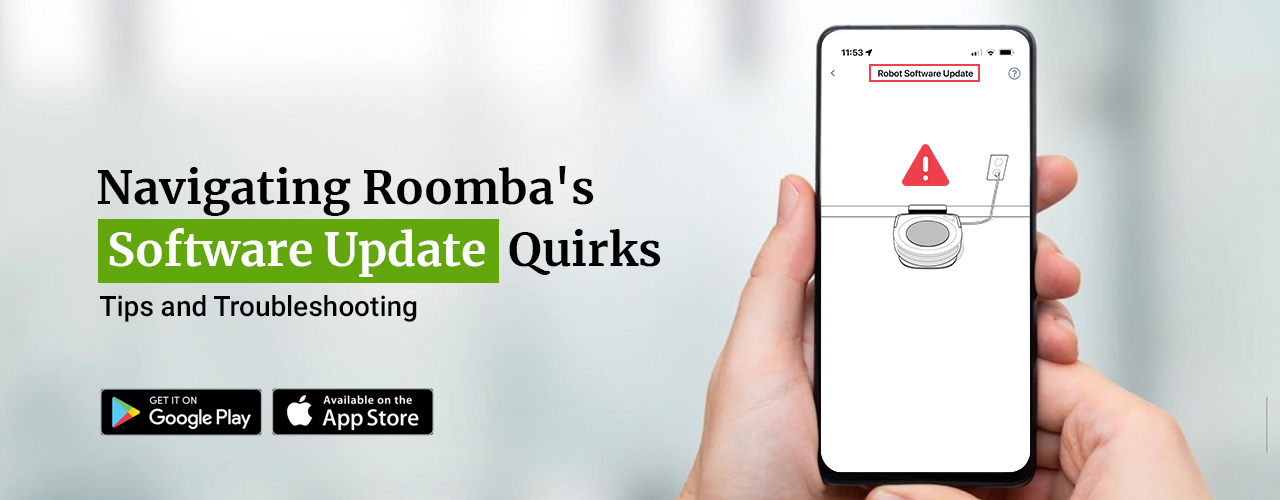
You can then follow the general setup steps to reconfigure the roomba settings. Use the smartphone app or the Roomba login wizard to do so.