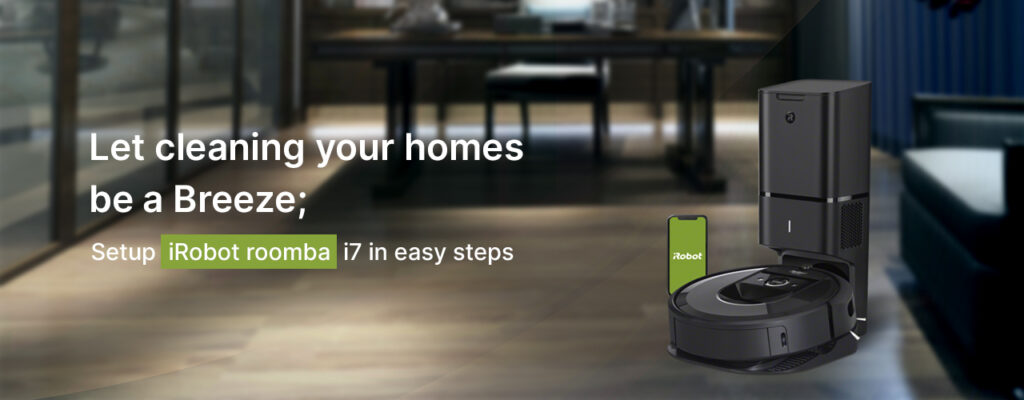
The Roomba i7 is among the most sought-after cleaning robot from iRobot. If you have purchased a new one for your home, learning about the setup process will go a long way in ensuring proper cleaning. In case you are looking for help setting up your iRobot Roomba i7 robot, this blog is something you can read through.
Preparing Roomba i7 for setup
- Place the Home Base charging station on a flat surface in an uncluttered area.
- Now, plug one end of the cable into the Home Base and the other into the wall outlet.
- Keep Roomba on the Home Base while making sure that the metal charging contacts on it match with those on the robot.
- Make sure the roomba base station powers up and is charging the robot.
Download the iRobot Home App
- The iRobot Home app allows users to use their smartphones to help them have the best experience while using Roomba.
- In order to download the app, you can search iRobot Home in the App Store, or in the Google Play Store.
- Once the app page appears, tap on the Download button and install the same.
iRobot Roomba i7 WIFI setup
The iRobot Home app will walk you through the easy steps to connect Roomba to your home wifi network. Make sure you have the details pertaining to the WiFi name and password and are ready to use them for the best experience.
iRobot app uses the Bluetooth feature on your devices to connect to your robot. If the Bluetooth is not enabled, you will be prompted to turn it on during the setup process. You might also see a request for location access permissions. Now, when you are ready, open the app, and access the Roomba login page:
- Tap on the three horizontal lines in the upper left corner of the screen. The main menu will now appear.
- Now, tap on Add a robot option and you’ll see a prompt to select what type of robot you would like to add. Select iRobot Roomba from the options.
- You can now modify the name of your robot. Type in a name for the robot and tap on the Continue button.
- On the next screen, the app will display the names of the wireless networks in the area. Select the network that your smartphone is connected to and confirm the same.
- Type in the password to connect to the network and tap on the Continue button.
- You can now activate Roomba to enable the internal WiFi network so your smartphone can detect the Roomba i7 robot.
- The robot will now be located by Roomba and you’ll be able to adjust and control the same through the app.
The iRobot Roomba i7 setup is now complete.
The final word
If Roomba is untraceable during the connection process, the iRobot app will prompt you again. After 2 more attempts, you’ll need to add the device manually. Select the network that Roomba has created. Once the connection process is complete, the robot will default back to the WiFi network. If you still face issues adding your iRobot Roomba i7 to the app using the Roomba login page, you can reset Roomba using the Clean button. Press and hold the same until the light ring turns white and begins to spin clockwise. You can also try force closing the app and reopening it.