
It is very simple to connect Roomba to new WiFi, provided you follow the steps with utmost care. To help you connect Roomba to WiFi, this post will help you in the best possible way. A user can experience many benefits by integrating Roomba with WiFi, such as voice commands through Alexa, remote monitoring and configuration, etc.
In simple words, connecting your iRobot Roomba robot vacuum to a new WiFi network is an important step when moving to a new location or when changing your wireless router. We have framed the steps in this post with the help of our in-house Roomba experts. Let’s discuss how to connect Roomba to WiFi.
Steps to connect Roomba to new WiFi
Here are the steps that you need to follow in order to integrate Roomba with WiFi network. Please follow the steps below:
- Firstly, put your iRobot Roomba on the charging station. It should be fully charged.
- After that, turn on your WiFi network to proceed with the wireless configuration.
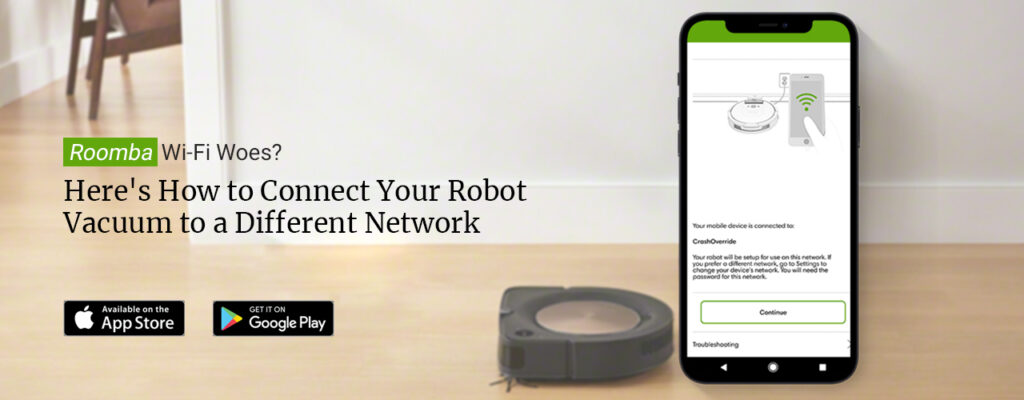
- Make sure you already have the iRobot Home app installed on your mobile device.
- If not, you can download the app from the App Store or Play Store.
- Open the iRobot Home app and tap Settings.
- Thereafter, select WIFi settings and then tap Change WiFi Network.
- Follow the in-app prompts to search for a new WiFi network and connect to it.
- To connect Roomba to new WiFi, enter the WiFi password.
- Once you connect Roomba to WiFi, press and hold the CLEAN button on your device for 10 seconds.
- Finally, you will see the confirmation message in the app.
That’s it! The Roomba robot vacuum is successfully connected to the new WiFi network. You can go to the Roomba login page to login to the device in order to see the connection status.
Roomba not connecting to WiFi. How to fix it?
It is pretty common for Roomba to come across the Roomba network connectivity issues. Here’s how you can resolve connectivity issues on your device:
- Make sure the WiFi router is working correctly. Double-check the physical connection in order to ensure that it is connected to the modem.
- You can try moving your Roomba robot a little closer to the router.
- After that, if you still observe your Roomba not connecting to WiFi, make sure you reset your device.
- Press and hold the CLEAN button on your robot to reset it to the default factory settings.
- Restart your mobile and reconfigure the robot vacuum.
- Now, you need to start from the beginning. Set up your device and connect Roomba to new WiFi.
Finally, the Roomba not connecting to WiFi issue will be resolved.
Bottom line
It is very easy to connect Roomba to WiFi network, provided you use the latest version of the iRobot Home app. Make sure you login to the robot vacuum and perform the right steps to connect Roomba to new WiFi network. We hope that this post helped you learn how to integrate Roomba with WiFi network without any hassle.
If you face any issues while attempting to connect your robot to the network, make sure you get in touch with our support team for more help.